
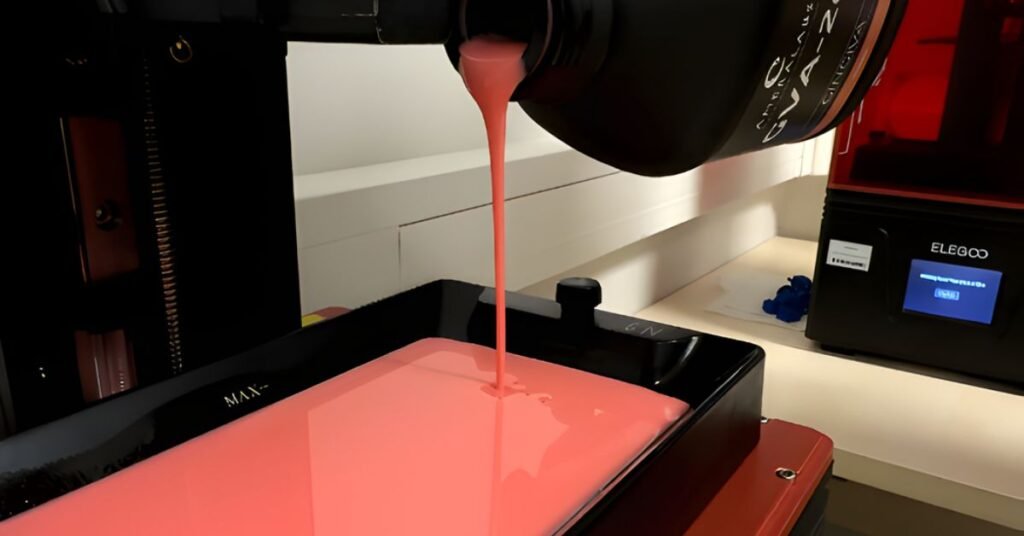
GVA-26 is a flexible gingiva resin made for 3D printing removable gingiva masks and other soft tissue parts used in dental labs. It stands out because you can cut, trim, and drill it after printing with normal dental tools such as scalpels, carbide or diamond burs, and slow-speed handpieces under 10,000 RPM.
Shrinkage after post-cure stays under 0.5 percent and the material shows only 1 percent compression set after 72 hours at 25°C. This means it springs back to its original shape after being compressed. Its gum-pink color stays consistent during printing and curing.
This resin is for laboratory use only. It is not intended for use on or in the human body. Wear protective equipment when handling uncured resin. Full safety information is available in the Safety Data Sheet at ameralabs.com/msds.
Workflow TL:DR
1. Prep
- Warm resin to 25°C.
- Gently shake the bottle.
- Level the build plate.
- Run the AmeraLabs Town test to confirm exposure.
2. Printing
- Use 50 µm layers.
- Start with recommended initial settings for your printer.
- Lift speed around 75 mm/min.
- Add a 1–3 s wait after each lift.
- Avoid suction zones in the model.
3. Cleaning
- Keep total IPA time under 15 minutes.
- Ultrasonic cleaning only 5 minutes in a sealed container. (optional)
- Dry the print completely for at least 30 minutes.
4. Post-Cure
- Cure under 365–405 nm UV for 10–20 minutes.
- Do not exceed 20 minutes.
- Remove supports before or after curing depending on preference.
5. Finishing
- Trim or drill with scalpels or burs under 10,000 RPM.
- Use gentle feed rates for clean cuts.
6. Storage
- Keep prints and resin away from sunlight and heat.
- Lab use only.
Equipment Compatibility
GVA-26 works with MSLA and DLP printers that use 365-405 nm light. This includes both monochrome and color LCD systems from brands such as Asiga, Raise3D, Prusa, Ackcureta, Anycubic, Phrozen, Elegoo, Epax and Rapidshape.
You must use a vat that has FEP, NFEP, PFA, ACF, or HDF film. Do not use PDMS-based resin trays. GVA-26 reacts with PDMS and will damage the vat. Check your vat film type if you are unsure.
Starting exposure settings for your printer model are listed at ameralabs.com/3d-printing-settings. Treat these as a baseline and fine-tune them through calibration.
Preparing to Print
Warm the resin to about 25°C before printing. At this temperature the viscosity is correct for good flow and consistent layers. Shake the bottle gently so the resin is evenly mixed but avoid shaking hard enough to create bubbles. If bubbles appear, wait for them to settle in the vat before printing.
Level your build plate carefully. This is very important for first-layer adhesion, especially with wide prints like full-arch gingiva masks.
Before printing patient cases, run the AmeraLabs Town calibration model. This helps confirm that your exposure time produces clean details without overcuring.
Print Settings and Process
Start with recommended initial settings. If you can’t find the settings for your printer, contact support@ameralabs.com.

Set your lift speed to around 75 mm/min. This speed helps the part peel off the vat film smoothly and lowers the risk of warping thin sections. Add a 1 to 3 second wait time after each lift so the resin can settle before the next layer cures.
Try to avoid enclosed suction areas in your model design.
For bottom layers, many users prefer 6 to 8 layers at 25 to 30 seconds exposure. If adhesion is still weak, increase exposure to 40 to 45 seconds.
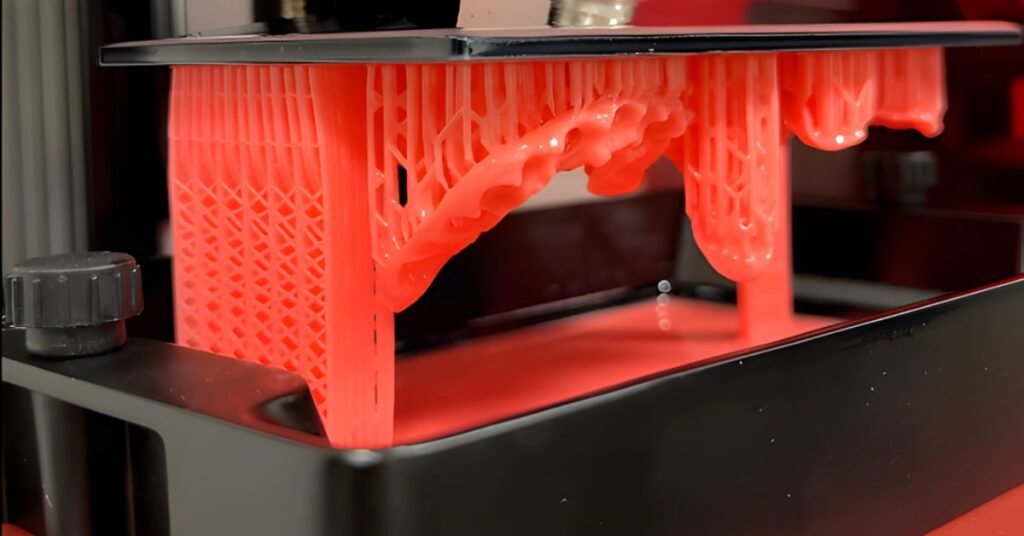
When printing with supports angle models at least 15 degrees from horizontal to reduce large overhangs.
To reduce visible support marks on outer surfaces, keep supports on inner surfaces, lower tip size to 0.3 to 0.4 mm, and remove supports before curing so you can clean up any marks with a scalpel. Any remaining visible support marks can be removed with a scalpel or a handpiece after post-curing.
Cleaning the Prints
After printing, remove the part and prepare it for cleaning. The most important rule is to keep total IPA exposure time under 15 minutes. Too much IPA will permanently reduce flexibility and increase hardness.
Soak the part in IPA for 10 to 15 minutes. Gentle agitation helps, but simple soaking works for most prints. For complex shapes with undercuts you may need a couple of short cycles but keep the total time below 15 minutes.
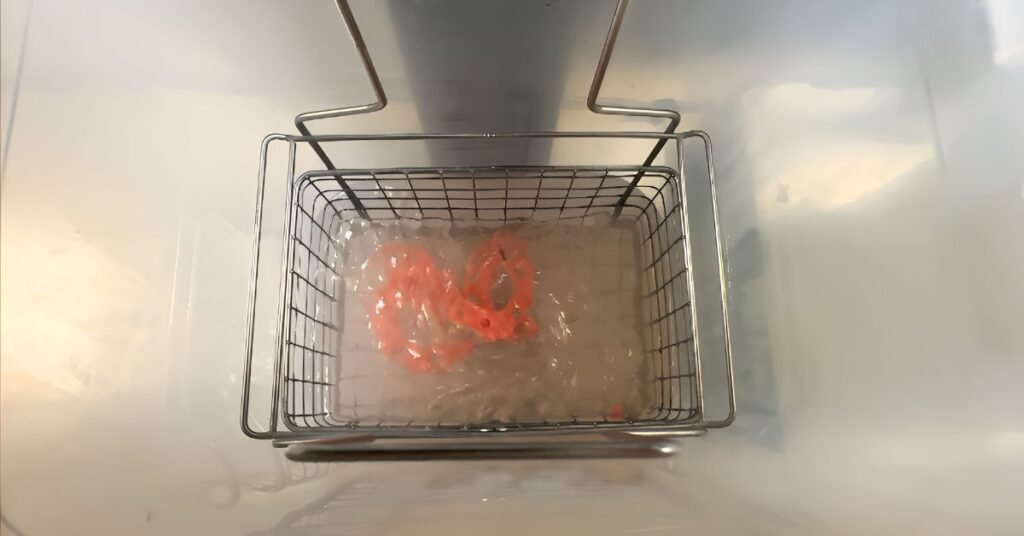
If using an ultrasonic cleaner, place the part in a sealed container filled with IPA and put that container in the ultrasonic bath filled with water. Run it for 5 minutes and do not use heat.
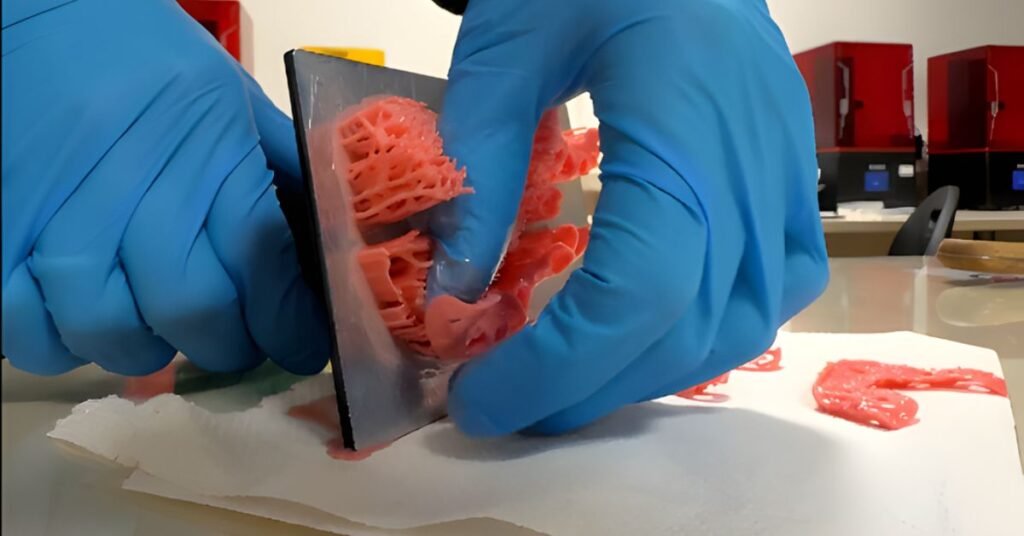
Supports can be removed before or after washing. Removing them first keeps IPA cleaner for longer. Leaving them on during curing can help preserve delicate contours.
Dry the print completely. Use compressed air, or wait until the print is completely dry before UV curing. Any leftover IPA will cause tackiness and affect final properties.
Post-Curing
Cure the dry print under 365 to 405 nm UV light for 10 to 20 minutes at room temperature. Do not exceed 20 minutes. Our testing shows that small to medium size GVA-26 prints cure in 10 minutes on most standard curing stations. Overcuring permanently reduces flexibility and shape recovery.
After curing, check the print. It should not feel sticky and the color should look even. The material should compress easily and recover its shape right away, showing proper compression set behavior.
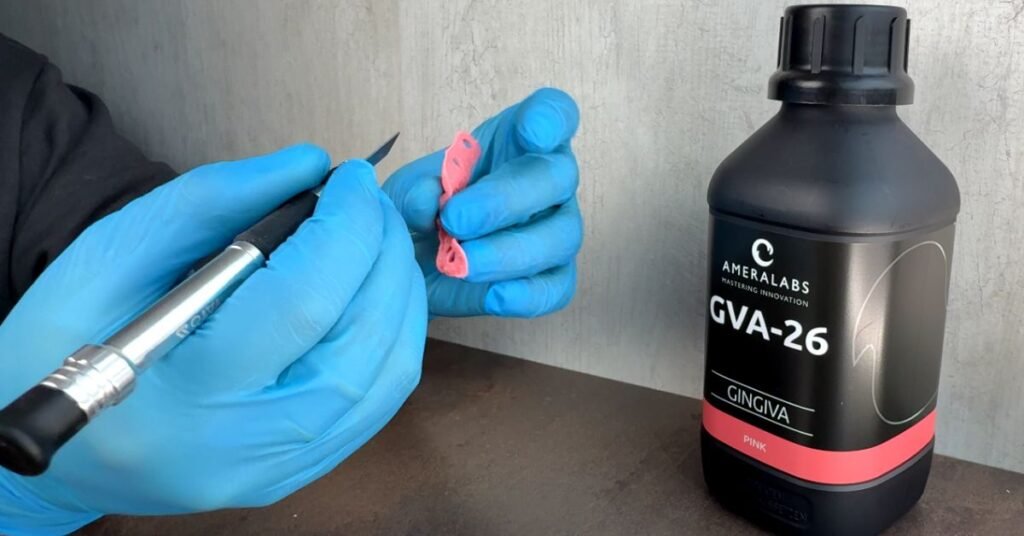
Post-Print Machining
Once cured, GVA-26 can be trimmed or drilled with standard dental tools. Use scalpels for border adjustments or relief areas. Use carbide or diamond burs for drilling, keeping handpiece speed under 10,000 RPM. Its high tear resistance and elongation allow clean, controlled machining without unexpected tearing. Use gentle feed rates.
Surgical scissors help with larger cuts. Cooling the print at 5°C for about 10 minutes before detailed cutting can make precise work easier.
If you plan heavy machining, practice on a small test print first to learn how the material behaves.
Storage and Safety
Store unopened bottles at room temperature away from sunlight. Keep opened bottles sealed when not in use. Wear gloves, respirator and eye protection when handling uncured resin.
Dispose of resin waste responsibly since it is classified as a hazardous chemical. Use designated waste containers and follow local guidelines. Never dispose of resin in regular trash or drains. The full Safety Data Sheet is available at ameralabs.com/msds.
Technical Support and Resources
For assistance or troubleshooting, contact support@ameralabs.com .
The settings database at ameralabs.com/3d-printing-settings offers regularly updated starting points for many printer models. If you do not find the initial settings for your printers, reach out and we’ll be happy to help.