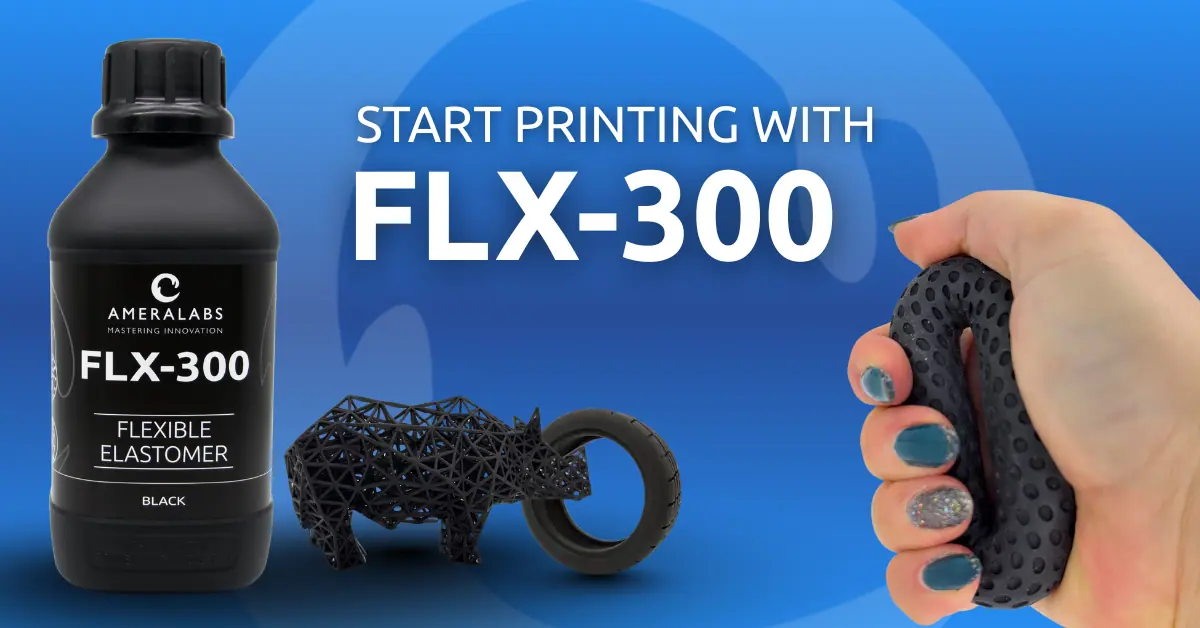
Welcome to the FLX-300 printing guide! If you’ve just grabbed a bottle of our elastomer resin, you’re probably excited to print some seriously flexible parts. Gaskets, vibration dampers, soft robotics grippers, custom-fit components: FLX-300 opens up a whole new world of functional applications.
But here’s the thing: elastomer resins behave very differently from rigid resins like AMD-3 or XVN-50. That silicone-like softness and exceptional compression set (just 1.7% at 25°C) comes with some unique printing requirements. The key to success? Proper heating, reinforced supports, and careful cleaning. Understanding FLX-300 printing fundamentals unlocks reliable, flexible prints every time.
This guide walks you through everything you need to know: from heating your resin properly to achieving that perfect non-sticky post-cured surface. We’ve tested these techniques extensively, so you can get reliable prints on your first attempt.
Let’s dive in.
FLX-300 Quick Start Checklist
Already familiar with resin printing and just need the essentials? Here’s your TL;DR:
- Heat FLX-300 to 25°C before printing: High viscosity (2904 mPa·s) requires proper flow for first layers
- Use reinforced lattice supports: 1.5-2 mm columns, 0.4-0.5 mm tips, 2 mm spacing
- Slow down lift speeds: 45 mm/min for bottom layers, 45-75 mm/min for normal layers
- Extend wait times: 2-10 seconds to reduce blooming and print failures
- Limit IPA & resin exposure: Under 30 minutes total to avoid swelling. Wash immediately after printing for best results.
- Use ultrasonic cleaning: Best results for lattices and complex geometry
- Post-cure thoroughly: 30-60 minutes (optional 60°C ) in UV chamber (vacuum or inert atmosphere recommended)
Find initial settings for your specific printer at ameralabs.com/3d-printing-settings.
Pre-Print Preparation for FLX-300
Shake Well Before Use
Before anything else: shake your FLX-300 bottle thoroughly. The resin needs proper mixing to ensure consistent properties throughout the bottle. For more on why this step is so critical, check out our guide on why resin mixing is so important.
For safe resin handling practices, check out our resin safety guide.
Heating FLX-300 Resin to 25°C (This Is Non-Negotiable)
FLX-300 has a viscosity of 2904 mPa·s: that’s thick. Really thick. At room temperature, it flows like honey, and that creates serious problems for your first layers.
When cold resin can’t spread evenly under the build plate, you get cloudy layers, weak bonding, or complete print failures. The fix? Heat it up to at least 25°C.
How to heat FLX-300:
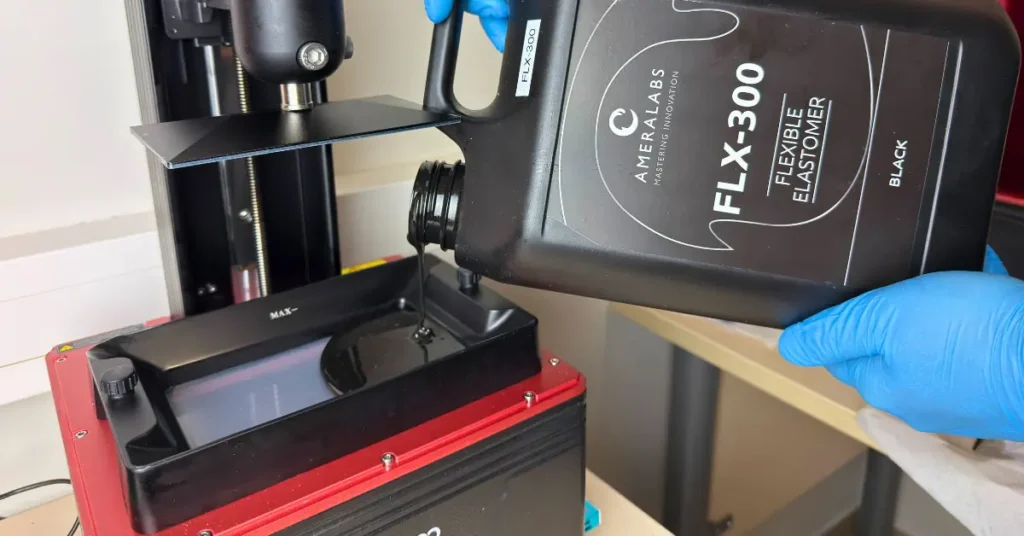
Water bath method (easiest):
Place your resin bottle in a container of warm water. Check the temperature with a thermometer to ensure it reaches at least 25°C.
Heated vat or enclosure:
If your printer has built-in heating, let it warm up before printing.
Important: Never use direct heat like a heat gun or hot plate. Direct heat can cause premature polymerization and ruin your resin.
Resin manufacturer’s tip: Keep a thermometer handy and make heating part of your pre-print routine. It takes 10 minutes and prevents hours of frustration from failed prints.
Printer Compatibility Check
FLX-300 works great with MSLA and DLP printers: Anycubic, Phrozen, Elegoo, Asiga, and similar machines.
One critical requirement: Use FEP film-based trays only. FLX-300 is too reactive for PDMS trays and will damage the silicone layer. Stick with FEP, or even better, ACF/HDF release films for easier peeling.
Build plate leveling:
Take extra care here. Elastomer prints are less forgiving of build plate misalignment, especially for large models like industrial gaskets or damper pads where first-layer adhesion across the entire surface is crucial.
Support Setup for Flexible Resin Printing
This is where elastomer printing gets interesting. Standard support strategies that work perfectly for rigid resins will fail with FLX-300. Understanding proper support setup is crucial for successful FLX-300 printing. Here’s why.
Model Orientation Matters
Before adding supports, think about orientation:
Minimize overhanging features: Rotate your model to reduce areas that need heavy support
Avoid rapid surface area changes: Sudden jumps in layer size create suction problems
Reduce Z-axis height: Tall prints in the Z direction wobble more in top layers. If you can orient it to take up less space in the Z axis, do it.
Eliminate trapped pockets: Avoid holes or cavities with no drainage path. Trapped resin and air cause blooming and layer separation. Add drain holes if needed.
Printing flat is possible with FLX-300: While angled orientation is typically recommended, you can print flat if needed. Increase wait times to 10 seconds and use slower lift speeds around 20mm/min to manage the higher suction forces created by larger layer areas.
The Wobble Problem
FLX-300’s flexibility means your print wobbles during the printing process. As each layer peels from the FEP film, the material bounces and flexes. Weak supports can’t control this movement, leading to mid-print detachment, warping, or complete failures.
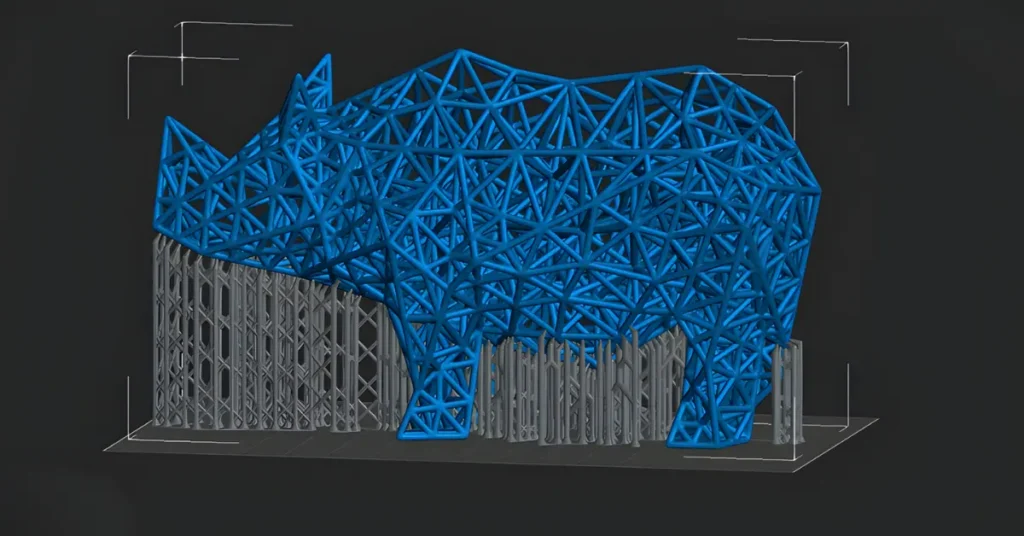
You need strong support structures: think scaffolding, not toothpicks.

Recommended Support Specs for FLX-300
Column diameter: 1.5-2 mm (thicker than standard)
Tip thickness: 0.4-0.5 mm
Spacing: ~2 mm between supports
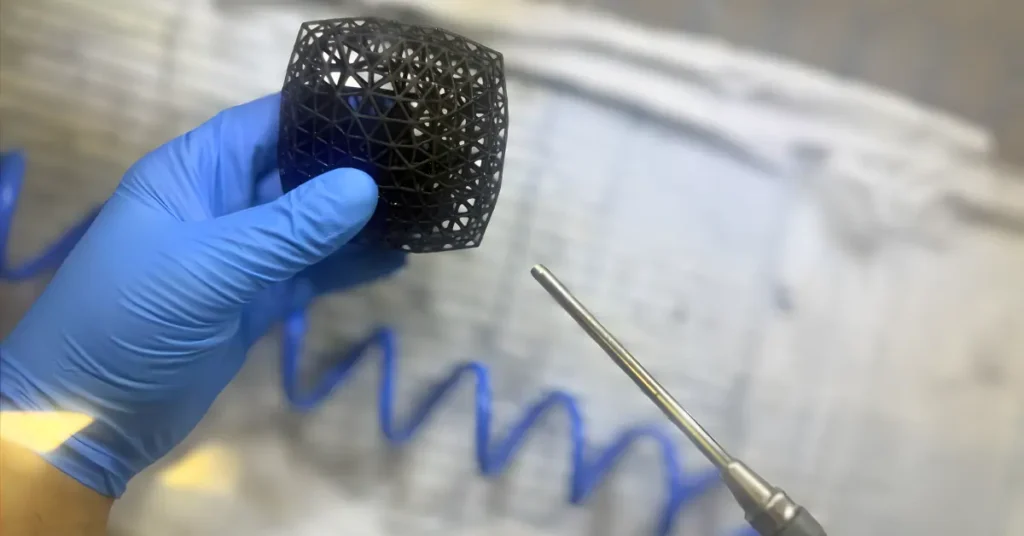
Structure type: Lattice or cross-braced
Avoid tree supports completely. They’re too weak for elastomers. Instead, create a lattice structure with many cross-connections between pillars. This increases stiffness and keeps your print stable.
For large models (like industrial gaskets or damper pads), increase support tip and pillar thickness even further due to the much larger surface area and mass of each layer.
Slicer Settings
Chitubox:
Set auto-support spacing to 2 mm and crank up crosslink density. Manually review and add cross-bracing where needed.
Lychee Slicer:
Crank up crosslink density and skip auto-generated tree supports entirely.
PrusaSlicer:
Manually add cross-bracing for large models. Default supports won’t cut it.
Don’t Forget Rafts
Use a raft with the same number of layers as your model’s bottom layers. Set the number of transition layers to half that of the raft layers. This balance makes supports much easier to remove while still giving you a strong, stable base for all support pillars.
Large Models Need Extra Reinforcement
Printing large gaskets or industrial damper pads? Bump up pillar thickness to 2.5 mm due to the larger surface area and mass. The bigger your print’s footprint per layer, the more support reinforcement you need.
Watch for these warning signs:
- Failed prints at 70-80% completion = inadequate support stiffness
- Resin trapped in supports = insufficient spacing
- Mid-print wobble = supports too thin
Need more troubleshooting help? Check our resin printing troubleshooting guide.
FLX-300 Printing Parameters and Settings
Finding Your FLX-300 Exposure Settings
Step 1: Grab initial settings for your printer at ameralabs.com/3d-printing-settings.
Step 2: Print the AmeraLabs Town calibration model to fine-tune exposure for your specific setup.
Learn more about our Town calibration process.

Key Print Settings for FLX-300
Resin temperature: Maintain at ~25°C during printing
Lift speeds: 45 mm/min (bottom layers), 45-75 mm/min (normal layers)
Wait times: 2-10 seconds before curing. Wait time is also known as rest after retract or wait before print.
Layer height: 50 µm recommended
For larger parts or models with pockets/holes some extra tuning is needed:
- Increase lift height to 10 mm
- Reduce speed to 40 mm/s
- Extend wait times to 10 seconds or more
Why slow lift speeds?
Fast lifts create suction forces that warp flexible prints or tear them from supports. Slow, controlled movement lets the material peel gradually.
Why long wait times?
Large surface areas or hollow sections trap resin and air. Extra wait time lets everything settle, preventing blooming and layer separation.
Release Film Choice for FLX-300
ACF/HDF release films = recommended for easier printing
nFEP = works well for smaller parts
FEP = standard option
Critical warning: Never use PDMS-based resin trays with FLX-300. The resin is too reactive and will damage the PDMS silicone layer. Stick with fluoropolymer films (FEP, PFA, ACF, HDF, nFEP) only.
Spotting Exposure Issues
Print the Town calibration model to identify if your exposure needs adjustment. The model will reveal whether you need to increase or decrease exposure time for optimal results.
Resin manufacturer’s tip: Always calibrate before production runs. Printing a Town model ensures your specific setup produces optimal results.
Cleaning FLX-300 Prints: IPA Methods and Best Practices
Critical IPA Exposure Rule for FLX-300
Maximum 30 minutes per IPA soak. Longer exposure causes swelling and dimensional changes.
If the print isn’t fully clean after 30 minutes, remove it from IPA, let it air dry completely (30+ minutes), then repeat the wash cycle. Never exceed 30 minutes in a single soak.
Why FLX-300 Requires Special Care
FLX-300’s high viscosity makes uncured resin cling stubbornly to complex features, lattices, and negative spaces. Standard cleaning approaches that work for rigid resins need adjustment.
Three Cleaning Methods (Choose One)
Method 1: Wash & Cure Station (Standard)
- Submerge in IPA for 15 minutes
- Remove and air dry for 30 minutes minimum
- Inspect for uncured resin in holes or lattices
- If needed: Repeat 15-minute wash after print is completely dry
Total active IPA time: 15-30 minutes maximum across all cycles
Method 2: Manual Double-Bath (Budget Option)
- First bath: Submerge 10 minutes with active swirling for final minute
- Transfer to fresh IPA: Submerge 10 minutes with active swirling for final minute
- Air dry 30+ minutes
- If residue remains: Repeat after print dries completely
Total active IPA time: 20-30 minutes maximum across all cycles
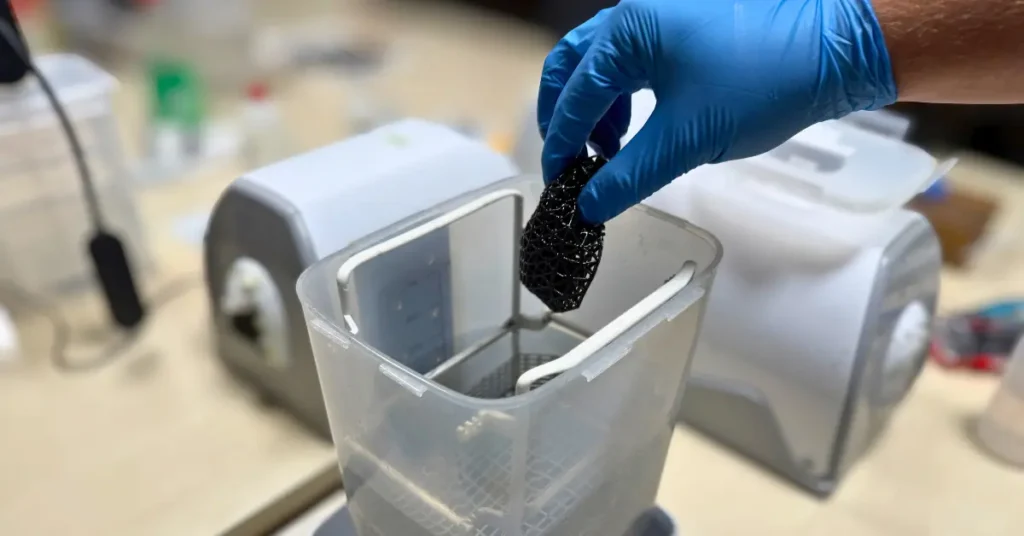
Method 3: Ultrasonic Cleaning (Most Effective for Complex Geometry)
- Place print in sealed container with IPA
- Put container in ultrasonic cleaner filled with water (not IPA)
- Run 5 minutes maximum
- Air dry 30+ minutes
- If needed: Repeat 5-minute cycle after drying
Why this works best: Ultrasonic cavitation reaches deep into lattices and negative features. Five minutes ultrasonic equals 20+ minutes in a wash station for FLX-300.
Total active IPA time: 10-20 minutes maximum across all cycles
Special Handling Tips
Remove Lattice Prints Immediately
High surface area prints (small lattices, infill structures) absorb uncured resin and can swell if left on the build plate. Remove these immediately after printing finishes.
Remove Supports Before Washing
Supports block IPA access to model surfaces. Always remove them first for complete cleaning.
Use Compressed Air as Final Step
After washing, blow out trapped IPA and resin from:
- Holes and channels
- Lattice intersections
- Negative features and crevices
This prevents residue buildup, accelerates drying, and maintains dimensional accuracy – critical for fine lattice structures.

Drying
Air dry for at least 30 minutes. If your print swelled slightly from IPA, extended drying returns it to original dimensions. You can speed this up at 50 °C, but air drying works fine.
Compressed air helps here too – it blows out trapped IPA and resin from tight areas and can cut drying time from 30 minutes down to just a few minutes, depending on the print’s complexity.
Post-Curing FLX-300 Elastomer Resin
Elastomer resins have naturally stickier surfaces than rigid resins. FLX-300 needs thorough post-curing to achieve that professional non-tacky finish and full mechanical properties.
FLX-300 Post-Cure Settings
Time: 30-60 minutes
Wavelength: 365-395 nm UV
Atmosphere: Vacuum or nitrogen (recommended but optional)
Temperature: 60°C (recommended but optional)
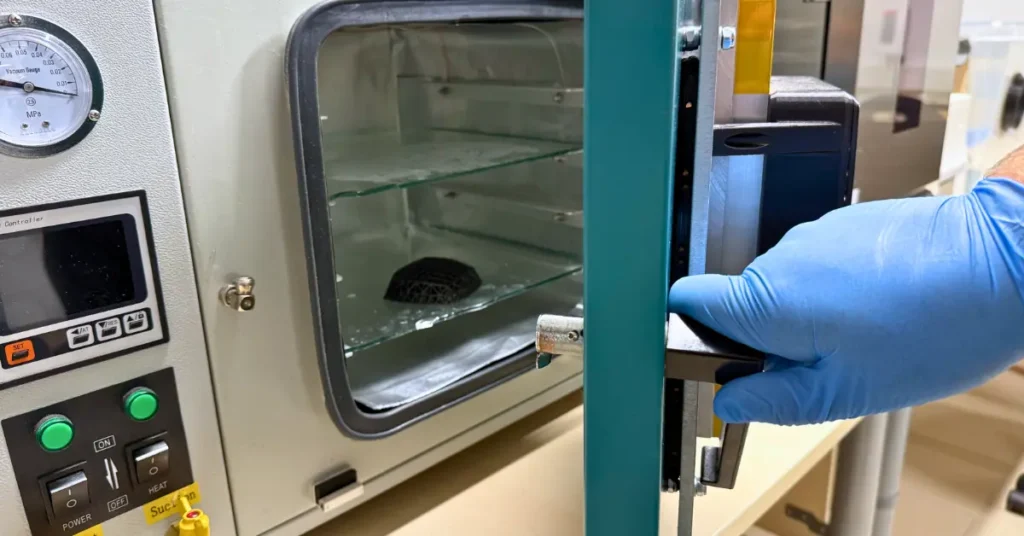
Inert atmosphere removes oxygen that inhibits surface curing, giving you better results and less stickiness.
How to Know It’s Done
✓ Non-sticky surface = properly cured
✗ Tacky/sticky = under-cured (add more time)
Post-cure until the surface is no longer sticky. This can take 30-60 minutes or longer depending on your UV chamber setup.
Post-cure immediately after cleaning and drying. Don’t let cleaned parts sit uncured for extended periods.
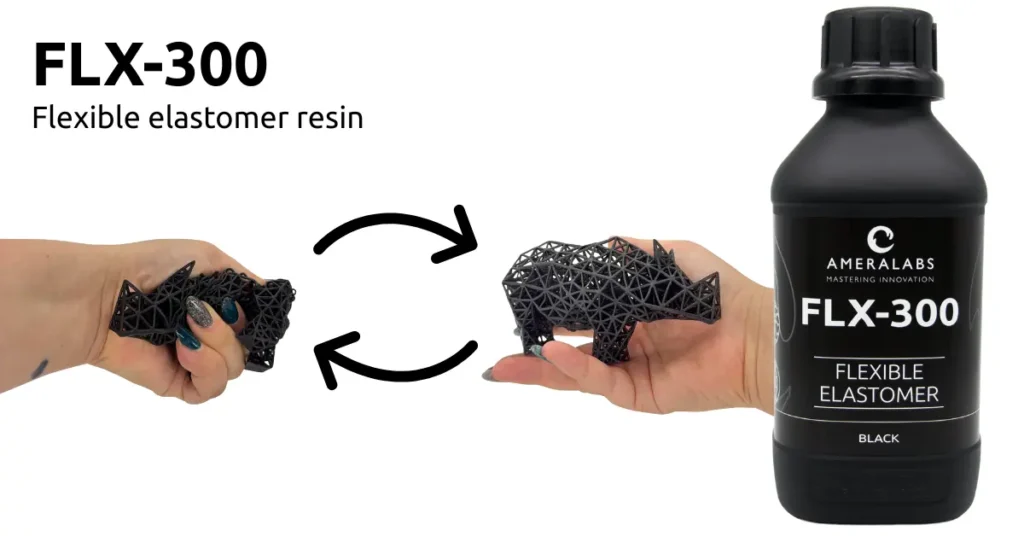
What You Can Print with FLX-300 Elastomer Resin
When you follow these printing steps, you unlock FLX-300’s impressive capabilities:
Gaskets and seals: 1.7% compression set at 25°C means reliable sealing force over thousands of cycles
Living hinges and flexible joints: 232.3% elongation at break enables extreme bending angles (180°+) and thousands of repeated flex cycles without fatigue failure
Soft robotics grippers: Silicone-like softness (44A Shore hardness) with excellent bounce-back properties
Custom-fit parts: Low water absorption (0.79%) maintains dimensional stability in humid environments
Flexible mechanical components: No hardening after 3 months; maintains flexibility for long-term use
The difference? FLX-300 doesn’t degrade like typical flexible resins. Your prints perform the same way three months from now, making it viable for real engineering applications.
For more on functional prototyping with 3D printing, see our rapid prototyping guide.
FLX-300 Printing: Final Tips and Next Steps
FLX-300 delivers exceptional flexibility and long-term stability, but only if you follow its specific requirements. Mastering FLX-300 printing requires attention to detail: heat your resin to 25°C, reinforce your supports with lattice structures, slow your lift speeds, limit IPA exposure to 30 minutes, and post-cure thoroughly (optional: at 60°C ).
Follow these steps and you’ll achieve flexible, durable prints with properties that last.
Always calibrate using the AmeraLabs Town model. Initial settings are starting points. Calibration ensures your specific setup produces optimal results.
Want to dive deeper into material properties? Check our mechanical properties guide for detailed technical analysis.
Questions or challenges? Contact us at contact@ameralabs.com. We’re here to help you succeed with FLX-300.
Ready to start printing with FLX-300? Grab your initial settings at ameralabs.com/3d-printing-settings and print that calibration model first.
Do not hesitate to reach out if you experience calibration or printing issues. We’re always here to help you get the best results with our resins.
Happy printing!
