
Updated on June 14, 2018
This time we will briefly discuss what raft is and why it’s so important if you want to use your resin 3D printer successfully. This article is dedicated to beginners of this 3D printing technology.
It is not a secret that if you want to be successful in any kind of 3D printing technology, you must know some essential techniques. Knowing these key process related aspects helps you to 3D print desired objects quickly and at a very high success rate. Although there are quite a few SLA 3D printing techniques for this, we will only focus on one, called attachment layer or raft.
What is a raft in resin 3D printing?
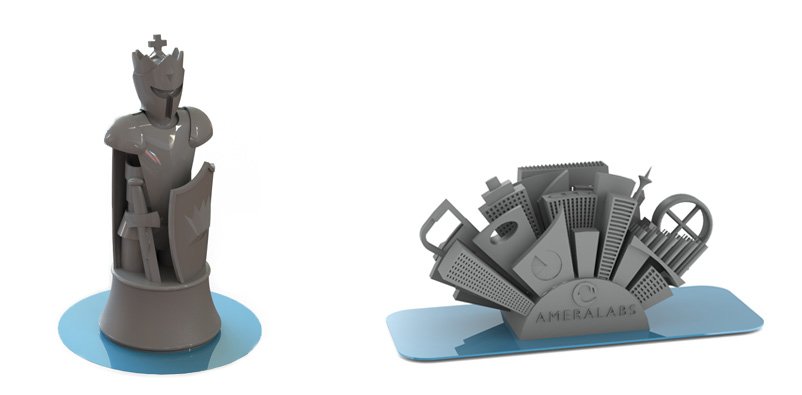
Generally, a raft is a thin pad on which you lay down your 3D object. This pad is made up of the very first few layers you 3D print. You can incorporate it during your CAD process or add it with some SLA 3D printing software solutions. It is also worth mentioning that this SLA 3D printing technique is mostly relevant to the “bottom-up” approach. This approach of resin 3D printing produces objects upside down.
Typical 3D printing problems when there is no or incorrect raft
Quite a few observable failures can happen if you do not use a raft or use an incorrect one. The most common issue that we see is when a 3D printed object separates from the build plate and falls down. This can also have minor or significant damage to your VAT bottom coating (FEP film or PDMS). Another issue is when part of the model separates from the build plate. In this case, you will see part of the model still sticking to the build plate and part of it hanging in the air. The last common problem is when the model sticks to FEP film instead of sticking to the build plate. That one might also be because of incorrect parameters of the attachment layer.
Underlying reasons for 3D printing raft
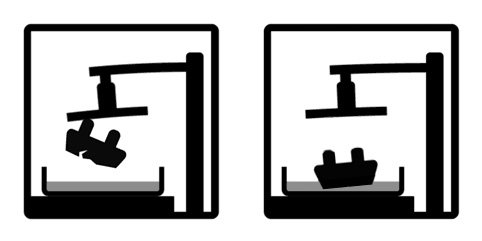
Like most other 3D printing technologies, SLA 3D printing produces objects layer-by-layer by selectively curing 3D resin. After each layer is cured, the build plate moves up, separating the newly cured layer from FEP film or PDMS silicon. After that, the process continues with curing the next layer and its separation from the VAT bottom. The 3D printer continues this process until an entire object is produced.
The main problem with such “bottom-up” style resin 3D printing is the previously mentioned layer separation action from FEP film or PDMS silicon. When the printer completes more and more layers of a model, the separation of each subsequent layer puts higher and higher stress on all previous layers and their connections. It goes without saying that the very first connection between your build plate and the first layer has to withstand the separation forces of an entire model! Therefore, it needs to stick to the build plate extremely well.
So at this point, it should be clear that very good adhesion between the first layer and the build plate is a critical element in “bottom-up” style resin 3D printing. We must increase the first layer’s surface area to improve this adherence. The larger the surface area, the higher forces keep it sticking to the build plate. So how do we increase that sticking force?
Adding raft and its key properties
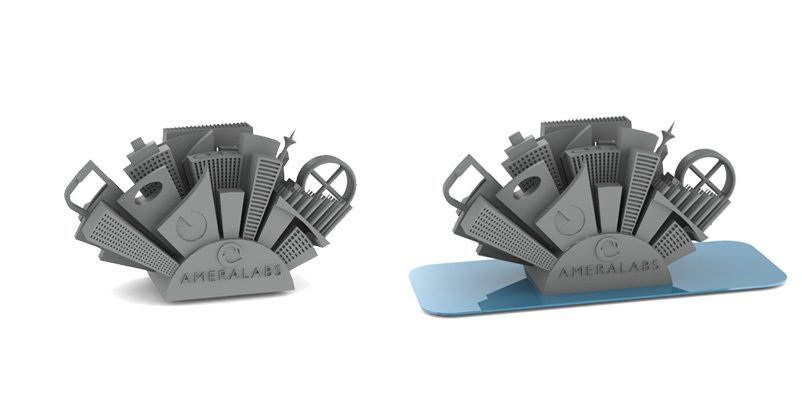
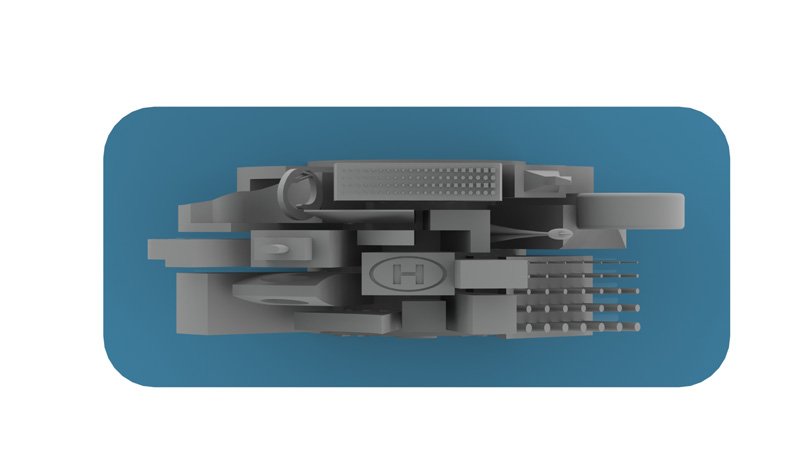
We cannot simply enlarge the first layers of a model to get better adhesion to the build plate because sometimes it can ruin an entire model. On the other hand, we can quite easily add extra layers to the model. To do that, we simply make a pad with your chosen software and place our model on top of it. See the images below.
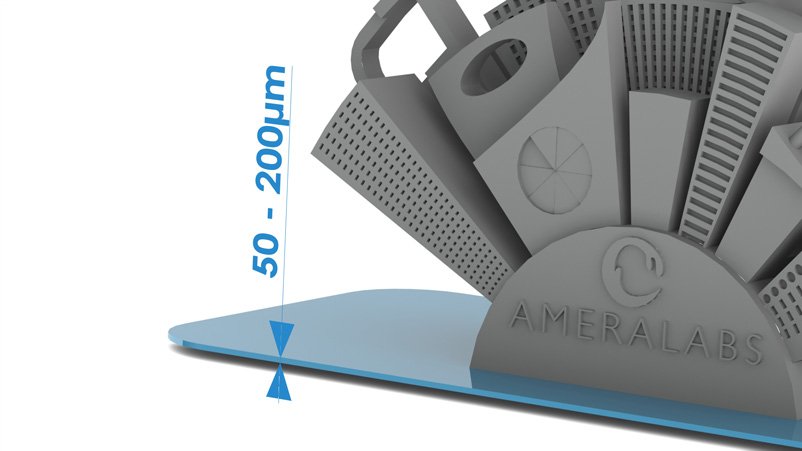
Raft thickness
So here we have it: this extra pad is called a raft or attachment layer. Although it is called “layer”, it does not necessarily mean that it must have a thickness of a single layer. Many people use various options, but we strongly recommend using a raft with a thickness of 1 to 4 normal layers. So if you print with 50 um Z resolution, your attachment layer should be 0.05 mm to 0.2 mm, and if you print at 100 um Z resolution, we recommend it between 0.1 mm and 0.2 mm. We dive into details in this separate article: Why should you not use default 3D printing raft settings?
There are pros and cons to keeping a raft a bit thicker or thinner. If you make it too thick, there is a risk of unwanted warpage of this attachment layer, which will eventually cause a decrease in forces, and your model will fall down. However, removing a 3D printed part from the build plate is usually easier when this pad is thicker. On the other hand, keeping its thickness as low as possible will ease the stress of post-processing. Removing and sanding a thin raft is much easier than a thick and bulky one. All in all, it is up to you to choose the best method for you.
Raft size
When it comes to the area of a raft, there is a rule of thumb that says that when looking from above at the model, its area must be 10-20% larger than the entire visible area. This will ensure that the attachment layer will have an area that is larger than any other layers.
A well-designed attachment layer will ensure that your model sticks to the build plate as firmly as possible. It will also help to smooth out potential irregularities on your build plate and, thus, produce a flat foundation for subsequent layers.
Raft exposure time
It is important to mention that community members typically treat rafts as “bottom” or “base” layers. Therefore, they require extensive curing times to cure well and to stick to the build plate properly. Recommended exposure times for bottom or attachment layers vary a lot.
For color LCD 3D printers, we recommend making it around 8-12 times longer than your normal layer exposure time.
For monochrome LCD or DLP 3D printers, make the bottom layer exposure around 5-8 times longer than your normal layer exposure time.
Exact numbers should be figured out by experiments. If removing 3D prints from the build plate is difficult, you should lower your bottom layer exposure. If your prints detach from the build plate during printing, then you should increase your bottom layer exposure. You can also read more about cure times for bottom layers in this article: The Complete Resin 3D Printing Settings Guide for Beginners.
Do I need it when I am using supports?
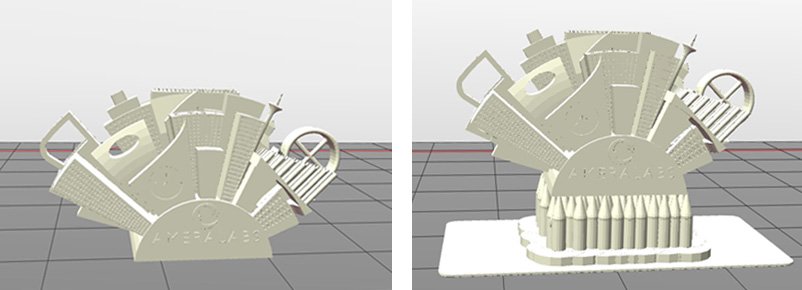
Yes, the need for a raft does not change when using supports. After adding supports, do not forget to add a raft that covers the full ground of your model. This will ensure a proper base for support and will dramatically increase the likelihood of success of your 3D print. See the images below for an example.
What software to use to add raft?
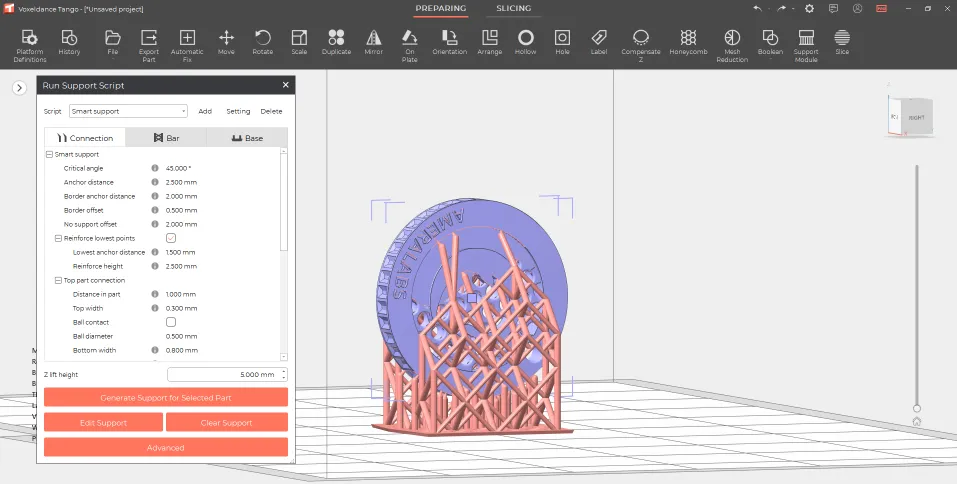
Quite a few software solutions for resin 3D printing can add an attachment layer. Chitubox, Lichee, VoxelDance Tango – just a few of those worth mentioning. These software packages allow you to add raft with a single push of a button. You can scale it to your desired dimensions and easily export an updated STL object.
You could also add raft with your chosen CAD software. However, using CAD might not be a straightforward solution. Adding elements to your model is very difficult when you only have an STL file. When you add supports, you will typically export your “supported” file as an STL file. Therefore, adding additional components to that model with CAD software becomes quite complex.
Happy printing!
I hope you get the picture of why raft is so important in resin 3D printing now. Go and have some fun 3D printing without the fear of failure. And if you have some spare time, check out our other articles to learn even more:
- How to design parts for SLA 3D Printing
- Key things to know before calibrating resin 3D printer
- Impressive calibration part for resin 3D printers together with the guide on how to understand its features
- 10 reasons why you get unexpected horizontal lines on your 3D printed parts
- Free NanoDLP Helper Spreadsheet
- 6 Key Principles of 3D Printing Supports that Work
Also, have a look at our SHOP. We have some great resins to choose from!
